Pages

Monday, June 2, 2008

Practicing pillowcase dresses

Today I attempted a pillowcase dress. First, I have to give myself a pat on the back for finishing this project. Midway through, I almost stopped, then even after a little tantrum, I pulled myself together and the leftover pieces of my sewing efforts. I was following a two different tutorials while I sewed deciding each step which technique I'd use (probably my first mistake, right?). I decided instead of using the typical method of putting pieces of ribbon into the neckline; I 'd try putting elastic in the neckline and ribbon into the arm holes (via casings). Hmm, this was A LOT harder than I thought it would be. I ended up cutting off the neck of my cute little dress and starting over. At this point, I knew my dress wouldn't be a dress, but probably a shirt if I completed it (great idea, Jody!).


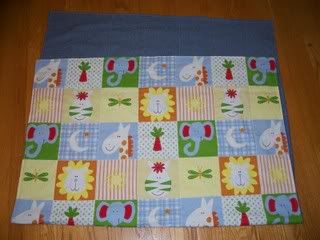
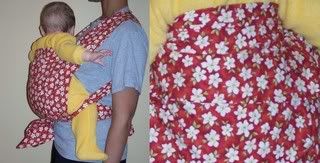
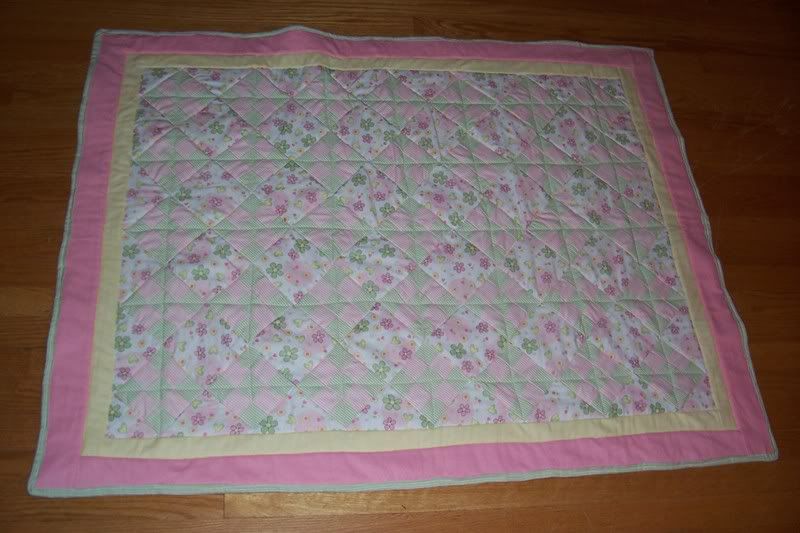
So, I took a second shot at the dress, but this time I didn't follow either tutorial and ended up just figuring it out on my own (seems like I do better this way.) I could write on and on giving you the long version of my rant but here's the reader's digest version. I was frustrated at that I wasn't able to catch myself before chopping off the top of my dress. I could have probably figured out how to fix it, but I was tired of trying to fix it and decided to start over. Before even starting the sewing project, I promised myself no matter what I'd try and if I couldn't salvage the dress, I'd convert it back into a cute pillow (oh by the way, I didn't use a pillowcase. I just used yardage/fabric I had). Anyway, here's my pillowcase dress shirt:


It was late and Ava was in bed, so Elmo agreed to model the shirt. On him, it actually fit as a dress.


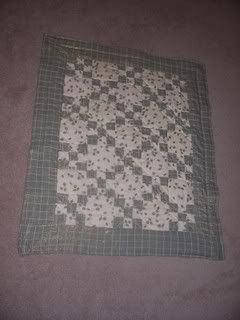
Here's the aftermath of my sewing tantrum...I chopped the top right off. Sad thing is...one step before my tantrum, I was actually pretty happy with the outcome of the dress. Then I decided to try making casings in the armholes..I couldn't get it, so out came my scissors. That's what got me in trouble in the first place trying to cut notches in the armholes to sew in casings. I've now learned to keep the scissors away until I have really thought it over and/or try to use my seam ripper.

Here's the dress shirt. I think it'll be too wide for Ava. I don't love the green ribbon, but didn't have any others I liked better (and I ran out of the blue with white dots...it was really wide too):


I might try to take in the sides for more of an A-line..like this (I just folded the extra fabric for this photo).


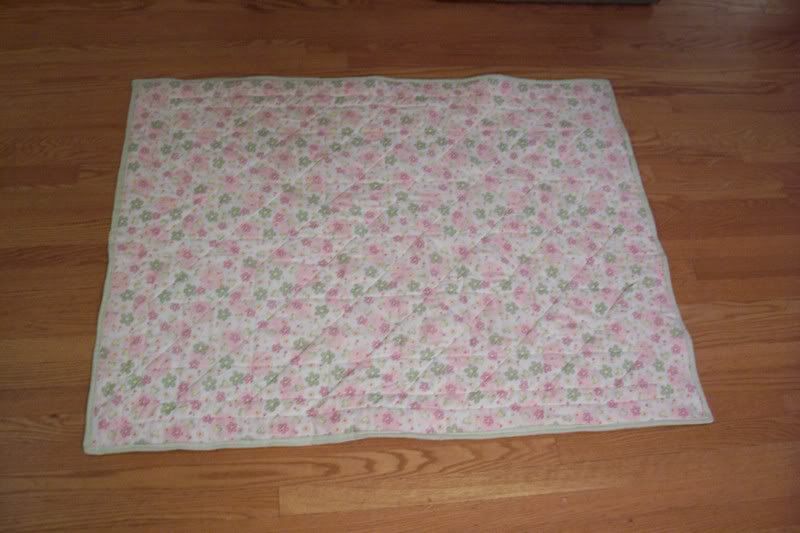
Even though Ava might not actually be able to wear it, I did learn a lot from this pillowcase project. I'll try making a few more. Maybe not tomorrow, but soon.

Other sewing notes (for those interested in reading about this, but also so I don't forget what/how I did this dress):

I ended up using the recommendation of elastic in the neckline casing (because I was worried the ribbon would have a drawsting effect and pose a strangulation hazard). However, I decided to sew the ribbon onto the elastic before closing the casing. I liked this look bettter than the other tutorial's recommendation of using bias tape to cover the arm holes and to tie into bows. I just didn't think the bias tape bows would be as cute. Easier, but not as cute. I'm still open to trying the bias-tape-as-ribbon method though...

Here's a photo of how I sewed the ribbon to the elastic. Probably easier to do by hand, but I really like my new sewing machine.


This is the ribbon stitched to the end of the elastic:


After stitching the ribbon to the elastic I put it into the casing and stitched it closed (by hand this time).

Oh, one more note (these notes would make sense if/when you read or try the pillowcase tutorial here)...before I made the casing in the neckline, I finished the armholes by turning the raw edges in (actually a really small casing, but too small to fit in ribbon). It's a later step in the tutorial, but I thought that was a lot harder to do once the elastic was already in the casings. Also I realized that if I make the arm holes less of a "J" shape, they'd be easier to do the casing if I wanted to put the ribbon in. But I still think I like the ribbon in the neckline better...

I have to admit that since I had the idea to blog about this project, I was more motivated to finish it-even when I wanted to wad up the fabric and run :)

Tuesday, April 29, 2008

New sewing machine


For my birthday, I got a new sewing machine. However, I have yet to even tinker with it. Sure, I've been a little busy these past few months, but I can't believe I haven't even tried it out. What if it doesn't work? Or I don't like it? I bought it from Costco, so I think I could return it if there are problems. Hope so!

The machine is a brother sewing machine that has a ton of different stitches, decorative feet, auto button holes, quilting accessories and so much more that I would need to learn to use. I've been stalking this sewing machine since Christmas 2006. I read a lot of reviews on it before buying it. Most of the reviews were really good. The ones that weren't raving reviews were from people that compared it to other sewing machines that were a lot more expensive. I wasn't ready to pay in the $500 range for a sewing machine..not until I could justify that I could do $500-sewing-machine-projects. This sewing machine is one of the Brother models specifically marketed to Costco and also HSN (Home Shopping Network). No, I'm a not a HSN shopper. But I do shop at Costco. I was bummed when I couldn't find this machine in Costco stores anymore, but was happy to find it available on Costco's online store.

I think I'm going to set aside some time to play around with the stitches, learn to thread it, etc. Then I can finally put it to use :)

Saturday, July 21, 2007

sewing party

A few months ago, I started inviting friends over to sew. Mostly, we sew baby carriers, but are planning to do other projects. This week, a few friends came over to work on Mei Tai Carriers. It's a lot of fun, some work, some more work, and a lot more fun!

While sewing, our babies play, eat, nap, and sometimes fuss. We take turns tending to babies or handle our own. One of the babies got a little fussy and rather than stop sewing, his mom asked if she could borrow one of my mei tai carriers (remember I have just a few now). So, we helped her strap him on to her back and she went back to sewing. Within minutes, he fell asleep! So cute and such a PSA for baby wearing!

Photo Sharing and Video Hosting at Photobucket

Usually, at a sewing party, I tend to host and help others. After the party, I felt inspired to work on a carrier myself. I found this funky patterned material I wanted to make into a carrier. So, I went to work and got mine done before our next meeting. It amazed the rest, but I reminded them that I had all day and night and worked on it when Ava was either sleeping or playing nicely by herself.
Here's a close up of the carrier. I added a headrest and a new pocket type (elasticized top to pocket rather than a flap):

Photo Sharing and Video Hosting at Photobucket

And here's another shot of it:

Photobucket

More birthday gifts

I've been quite busy with a few craft projects in the last week or so. I've had 2 sewing parties with friends to work on baby carriers (mei tai style), but also made time to finish 2 more gifts I wanted to make for Ava.

I sanded and repainted a little rocker I got her. I also added a little seat cushion to it.


Then I made these cute little letter pillows spelling her name. It wasn't too hard 3 letters, 2 different letters really. A's and V's look the same, but it does spell her name.

Photo Sharing and Video Hosting at Photobucket

Here's a photo of the other side of the pillows. I added buttons to the pillows to make the A "holes" stand out (I'm gigglng about the phrase "A holes" right now...sorry!) I plan to hang the pillows on the wall. So, no worries about her chomping off the buttons!

Photo Sharing and Video Hosting at Photobucket

I also made this tag-a-long blanket. Although, actually, I made it a few weeks ago and forgot to post it.

Photo Sharing and Video Hosting at Photobucket

Thursday, July 12, 2007

1st Birthday gifts

I want to make a few keepsakes for my daughter's first birthday. So far, I've made her a wall hanging (growth chart) and a new diaper stacker to match her nursery (working on redecorating it with a girly-butterfly theme). I also made a picnic blanket, but since I couldn't resist using it before her birthday, I'm not sure that's technically a birthday gift. I'm having trouble keeping hold on her gifts. I keep giving them to her. I also made her a Cheerios print bib. She doesn't like bibs, but maybe she'll be ok with this one.

Photo Sharing and Video Hosting at Photobucket


Here's the growth chart:

Photo Sharing and Video Hosting at Photobucket

The diaper stacker:
Photo Sharing and Video Hosting at Photobucket

And the picnic blanket:
Photo Sharing and Video Hosting at Photobucket

With the left over animal squares, I decorated a few bodysuits, too:
Photo Sharing and Video Hosting at Photobucket

Baby gear

While pregnant, I made just a FEW baby items. I didn't realize how much I made until I decided to unpack them from storage to add to this blog. I'm surprised how much I got done due to the ongoing fatigues of pregnancy and also working full-time. However, now that I think about it..there were definitely times I couldn't sleep towards the end.

Here are the boppy covers:
Photo Sharing and Video Hosting at Photobucket

I also made "fitted" sheets for my mini co-sleeper bed (a little wrinked from being stored). They came in handy when sheets needed to be changed due to spit up or worse..

Photo Sharing and Video Hosting at Photobucket

A few of the receiving blankets I made:
Photo Sharing and Video Hosting at Photobucket


A bath towel (used as a mat to cushion the counter during bathtime):
Photo Sharing and Video Hosting at Photobucket


Baby Hats (actually I think I made these during the winter after my daughter was born):
Photo Sharing and Video Hosting at Photobucket

Wednesday, July 11, 2007

more baby stuff

A few of my friends and I started making toys with ribbon tags on them. I didn't realize that there's a company that has rights to them. How silly! Anyway, we make them as gifts and/or for ourselves, that should be legal, right?

Gender neutral blankets (gotta plan ahead just in case the next time we have a boy):
Photo Sharing and Video Hosting at Photobucket

Photo Sharing and Video Hosting at Photobucket

I quilted the top of this one and added more loops to attach toys:

Photo Sharing and Video Hosting at Photobucket

Here's a toy cube with ribbon loops

Photo Sharing and Video Hosting at Photobucket


I'm going to try to make a ball and a triangle shaped one too...

gotta have shoes

So, once again as I'm looking at a store bought item, I'm thinking to myself, "I could probably try to make that" when I was handling my daughter's soft sole shoes. So, off to the computer I went and search for ideas and patterns/templates. I found a few and tinkered with the designs and concepts a little and Viola! I made a few pairs. Once I got them down pat, I kept making more. I'll probably even make MORE, since all I need is scraps to make them.

My first try (sized too small, so had to figure out how to enlarge them). Second pair the same but bigger sized:
Photo Sharing and Video Hosting at Photobucket

3rd pair..different type, but still pretty cute:
Photo Sharing and Video Hosting at Photobucket

Other ones I made:
Photo Sharing and Video Hosting at Photobucket

Photo Sharing and Video Hosting at Photobucket

Photo Sharing and Video Hosting at Photobucket

Photo Sharing and Video Hosting at Photobucket

Tuesday, July 10, 2007

Bonding with baby, slings and carriers

I can't remember when I decided that I wanted to wear my baby in a sling or other type carriers, but the moment I saw a pouch sling, I thought, "Hmm, I wonder if I could make one myself" The answer, "YES." Thanks to google and a few great websites, I was able to make not one, but several (too many to count, but I might just have to).

The first carriers I used with my daughter, I bought (the infantino and the baby bjorn). I loved them, but I really loved the ones I made myself. There's something rewarding about making them. Nowadays, I help my friends learn to make slings, too. I've hosted "sewing parties" where we all get together, babies included and get busy sewing and chatting away for most of the day while the babies play (or sleep). I am hosting a few more soon..they've become VERY popular. I enjoy educating, empowering, and entertaining others and these parties do just that!

Here are a few photos of slings (pouch type, ring, type) and mei tei carriers I've sewn:

the first sling (pouch style):
Photo Sharing and Video Hosting at Photobucket

a denim pouch sling
Photo Sharing and Video Hosting at Photobucket

A ring sling (made another pouch sling out of the same fabric)
Photo Sharing and Video Hosting at Photobucket

Ring sling (aka "my spring sling")
Photo Sharing and Video Hosting at Photobucket

My 1st Mei Tai Carrier
Photo Sharing and Video Hosting at Photobucket

My second...
Photo Sharing and Video Hosting at Photobucket

I've also made a few as gifts for friends...

Photo Sharing and Video Hosting at Photobucket

Gifts for friends and family

Once I felt comfortable enough, I wanted to share my crafts with others. I made quick quilts and other items for friends and family. Here are a few photos of some of the gifts I made:

Quick Quilt for my nephew
Photo Sharing and Video Hosting at Photobucket

Quick Quilt for my best friend's son
Photo Sharing and Video Hosting at Photobucket
The back
Photo Sharing and Video Hosting at Photobucket

Tote bags for my little sisters (appliques added to store bought bags):
Photo Sharing and Video Hosting at Photobucket

While pregnant with my daughter, I spent any free time I had making baby items for her....
Covers for her bouncy seat
Photo Sharing and Video Hosting at Photobucket

A small lap quilt
Photo Sharing and Video Hosting at Photobucket

Quick Quilt
Photo Sharing and Video Hosting at Photobucket

Crib sized Quilt
Photo Sharing and Video Hosting at Photobucket

The back
Photo Sharing and Video Hosting at Photobucket

I also made several receiving blankets (larger sized..so much easier to swaddle with) and boppy pillow covers (easier to clean than the boppy itself), but I don't have photos of them and they are now in storage.

Monday, July 9, 2007

Learning to Quilt (2 blankets)

I taught myself to quilt a few years ago. I always envisioned making cute little quilts for my children. So, once I learned to quilt, I was ready to become a mom :)

My first quilt
Photo Sharing and Video Hosting at Photobucket

Photo Sharing and Video Hosting at Photobucket

My second quilt (a gift to my sisters)
Photo Sharing and Video Hosting at Photobucket

Photo Sharing and Video Hosting at Photobucket